When we came across the AirMagic software a few weeks ago we were pretty skeptical. Most of these types of software are pretty basic in functionality and typically have lackluster results.
Well, we were wrong this time!
After using the software for the past few days we have been very impressed with the quality of the results and the incredibly intuitive interface.
The software is well designed, has all the functionality you need for great edits on your aerial photos, and should be very affordable for most people. It is also a fixed, one-time payment structure and not a recurring-subscription pricing model which makes us very happy!
[NOTE: If you would like to trial a demo copy of AirMagic visit https://skylum.com/airmagic/free or use promo code DRONETRADER to save 20% off of your AirMagic purchase!]
Here is our review of the AirMagic drone photo enhancing software by Skylum.
NOTE: Let us preface this review by saying that for professional photographers this will not replace the need for services such as Adobe Lightroom or Photoshop. However if you are new to aerial photography or even a semi-pro looking to speed up your workflow this is arguably the quickest and easiest way to take your aerial photo edits to the next level.
There are a few points we want to cover in this AirMagic review. They are:
- Ease of installation and setup
- Photo importing workflow
- How the “Magic” happens
- How to adjust photos after they have been edited
- Export Workflow
- How to integrate AirMagic into your current Adobe workflow
- Strengths of the AirMagic software
- Weaknesses of the AirMagic software
#1. Ease of Installation and Setup
We downloaded the AirMagic software onto a Macbook pro. The file size was about 400MB (pretty reasonable considering the functionality included and how well developed the user interface is) and the file downloaded quickly and without a hitch.
A quick double-tap of the AirMagic logo, agreeing to a few standard user agreements and the software was ready to go.
It immediately launches to this screen:
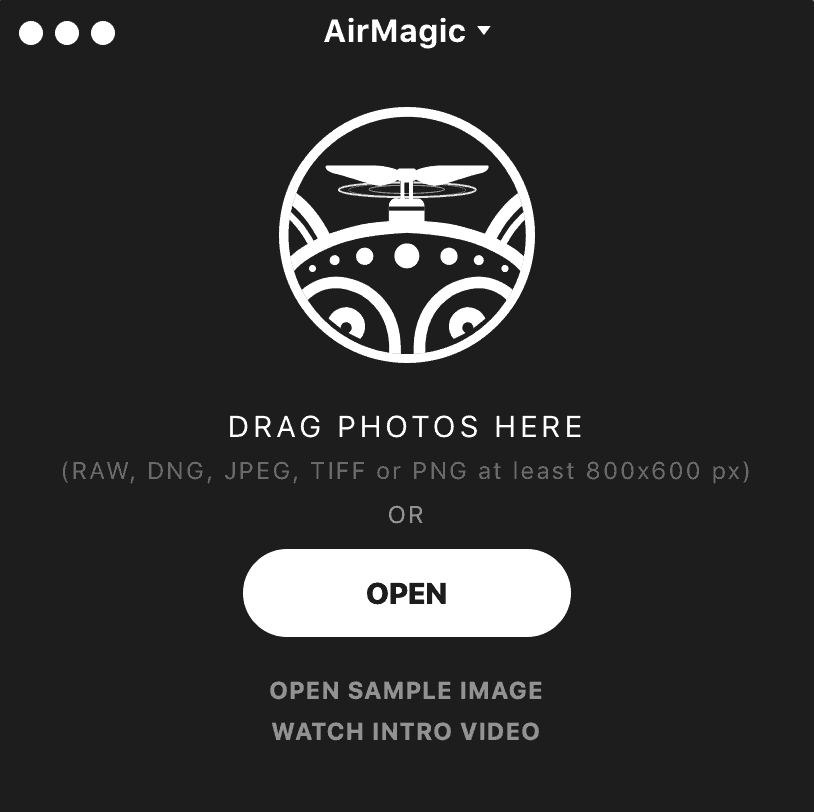
As you can see, it can’t get much easier than this. No setup or configuration required, it was simply ready to go to work.
#2. Photo Importing Workflow.
For the purposes of this post we will use some aerial farm photos that we have done over the past years. Aerial farm photos is how we started in the industry back in 2010 so it seems fitting to use them as an example (remember, although DroneTrader is primarily a marketplace for buying & selling used drones,our team has decades of combined aerial imaging and editing experience and we love sharing this knowledge on the blog!).
We literally just dragged a photo from our desktop over the “Drag your photos here” logo and voila!
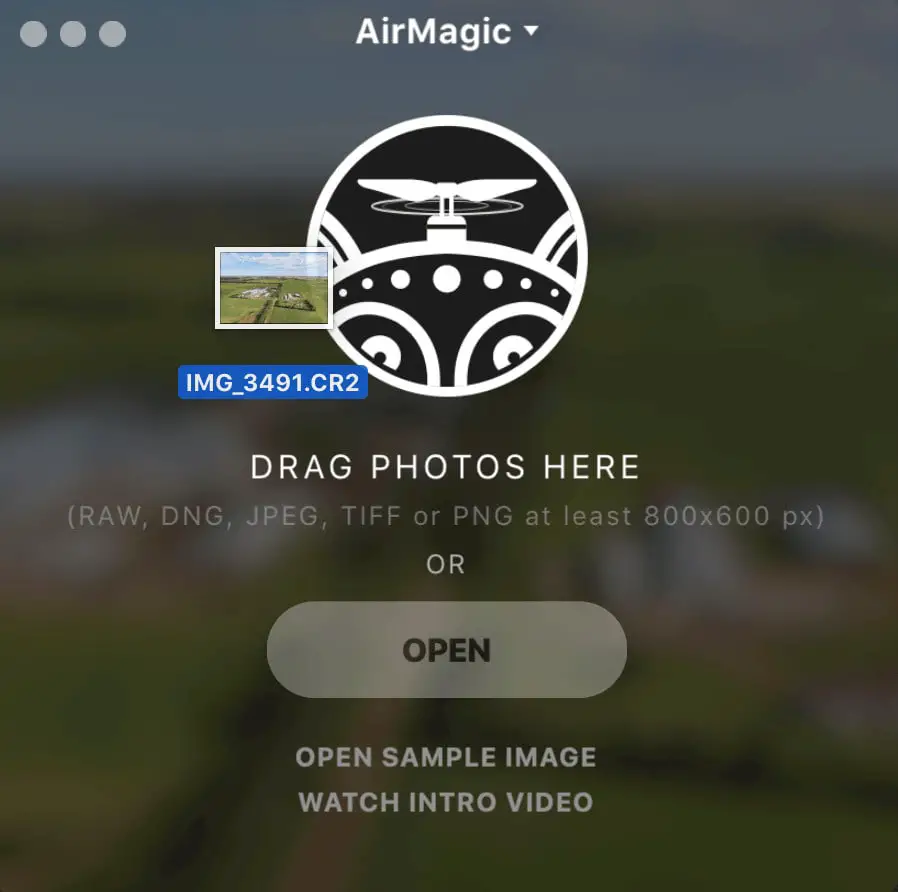
There is also the “Open” button which would be preferable to drag-and-drop if your files are buried deep on a hardrive somewhere or if you want to bulk edit a big batch of photos.
#3. How the “magic” happens!
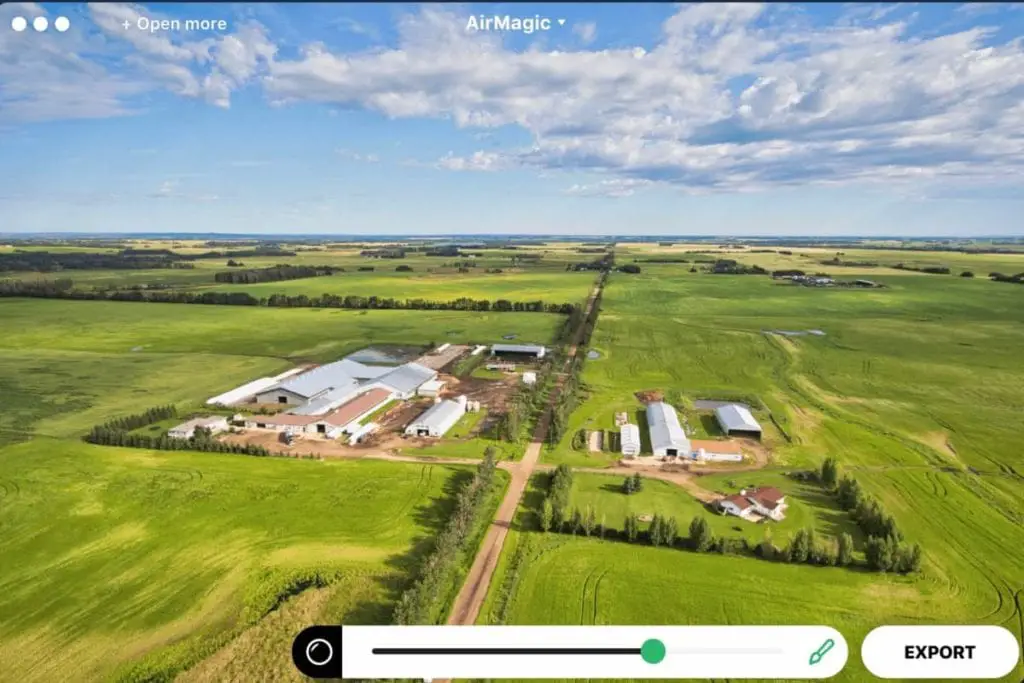
After dragging the aerial photo into the AirMagic interface, we got the following screen:
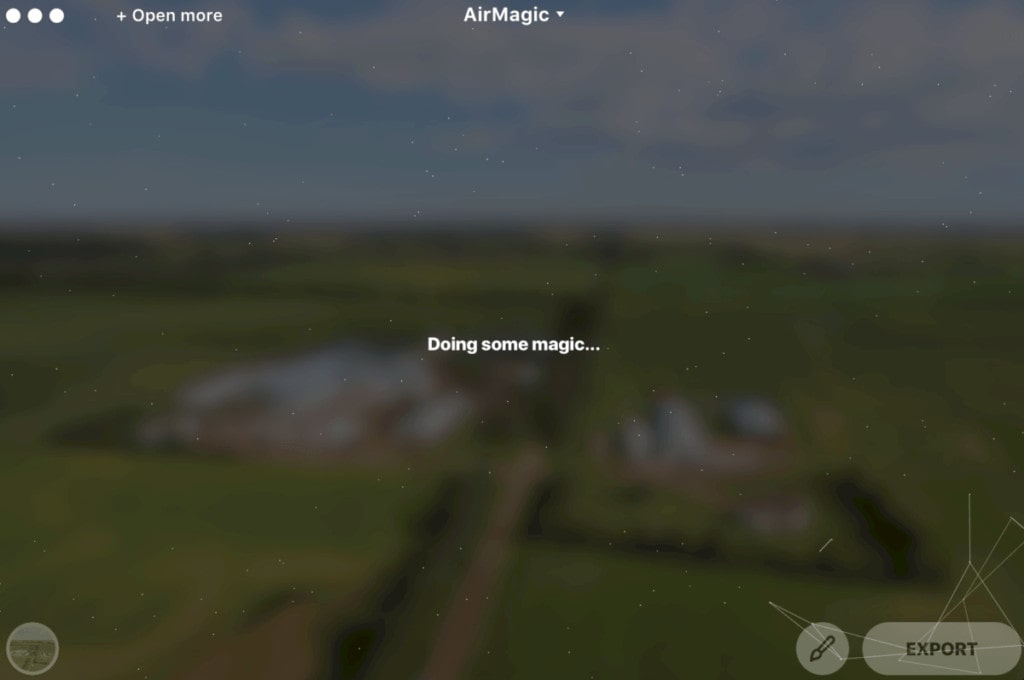
The software took about 5-10 seconds or so to process the image. It has a pretty neat graphic that goes around the screen and is kind of fascinating to look at.
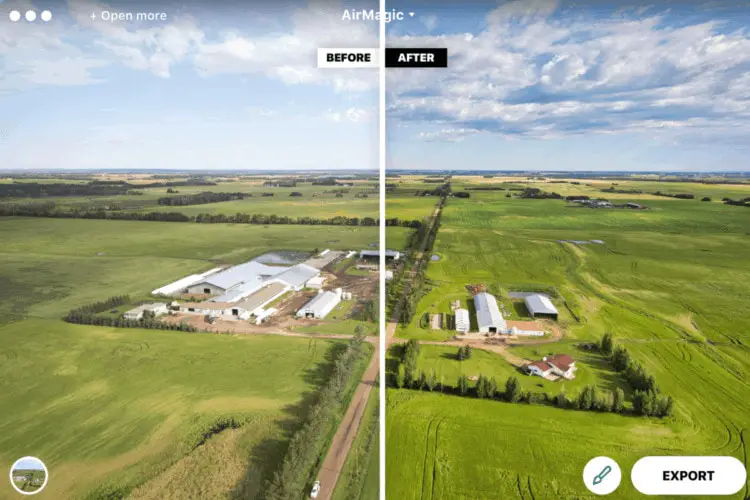
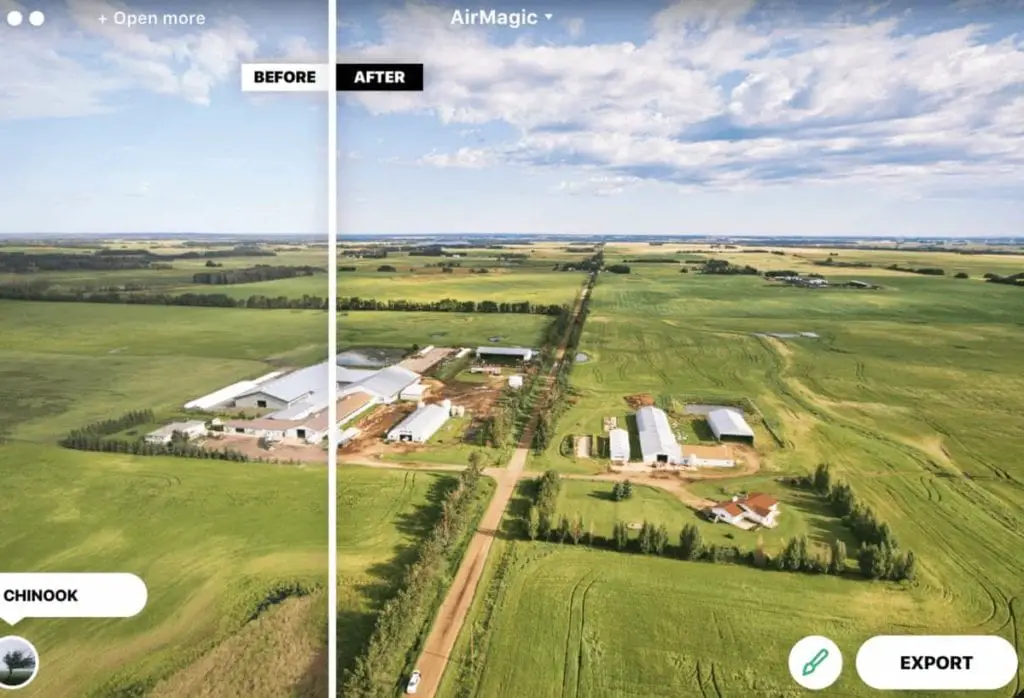
After processing we got the following screen:

As you can see, the “after” side of the photo looks much more vibrant and appealing to the eyes than does the original/unedited photo.
It was maybe a smidge heavy handed on the saturation/vibrancy side of things but it did keep a good white balance and the exposure of the sky was pulled down just enough to make the clouds stand out a little more.
It also applied a nice amount of tonal contrast that helps to make the image “pop” a little more.
#4. How to Adjust Photos in AirMagic After They Have Been “Auto-Edited”
They beauty of AirMagic is of course the hands-off editing process. That being said, if you want to make some adjustments to the automatic edit, it gives you the option to do so.
For example, on the photo that we edited above we felt it was just a little high in color saturation.
In order to adjust this, simply click the small green paintbrush symbol beside the “export” button and drag the slider to your desired output.
It also gives you a number of styles that you can apply to the photo (basically “filters” that apply certain looks to the photo).
Some of the styles that are included are “Zephyr”, “Chinook” (one of our favorites) and “Sandstorm”. All look pretty great right out of the box and the software allows you to adjust them to your desired taste.
The only one we found that didn’t seem to be a great fit for this farm photo was the “Cinematic” style however we can see use cases where this look might work well (dramatic landscapes, cityscapes etc). AirMagic has some great photos on their site where the cinematic effect looks really great!

After making a minor adjustment the photo was where we wanted it to be and it was ready for final export.
#5. Export Workflow
Exporting photos from AirMagic was almost as easy as importing them. Simply click on the prominent “export” button in the bottom right corner, input a file name if you want, select the file output type and level of quality and you are all set!

There is also an “Advanced” export option that handily allows you to choose things such as color profiles (sRGB, Adobe RGB, ProPhoto RGB), format options (JPG, PNG, TIFF, PDF, Photoshop and more) a variety of resizing options, and settings for both web and email versions.
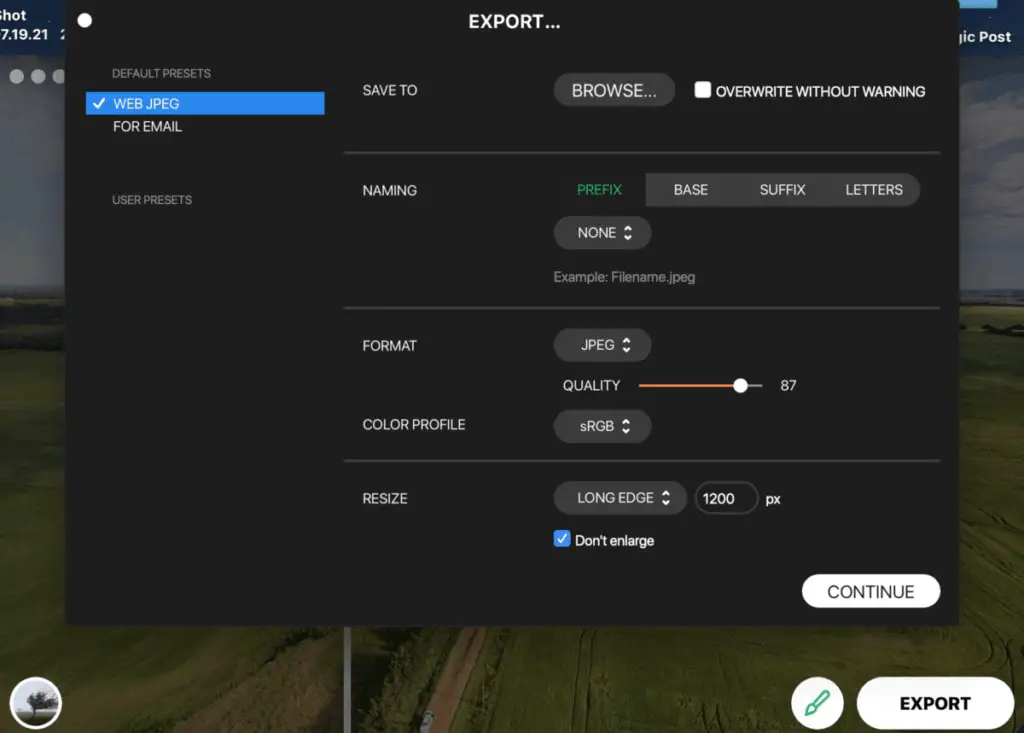
AirMagic has done a great job on simplifying the typical export process yet still giving the user control over the most commonly used export parameters available in other photo editing suites.
#6. Integrating AirMagic into an Adobe Workflow
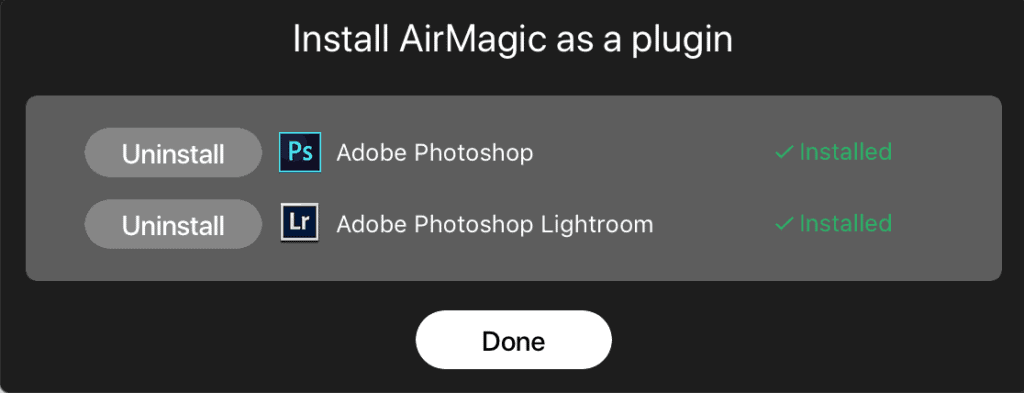
One of the neat features of AirMagic (that we were surprised to find, frankly) was the option for Adobe Lightroom and Photoshop plugins. Every semi-pro or pro photographer reading this will probably already be using Lightroom and Photoshop and realize the benefits of having an AirMagic plugin vs standalone software. Not having to adjust your standard import and file management workflow is very beneficial.
For ourselves, the benefit of AirMagic being integrated into Lightroom will be when working for those customers that require a low budget aerial shoot.
Instead of doing painstaking edits in Lightroom and Photoshop we would simply grab the batch of files, right click>edit in>edit in AirMagic and…that’s it! For those customers that do not require advanced Photoshop work or thorough edits, this will be an ideal solution.

At the time of this writing AirMagic is only available as a standalone desktop application or as a plugin for Lightroom and Photoshop and Apple Photos. There is no mobile app available at this time.
#7. Strengths of AirMagic
Some of the strengths of the AirMagic software:
- Import/Export workflows could not be easier
- It obviously has a lot of investment into UI/UX (user interface/user experience) as it is one of the most intuitive photo editors on the market.
- Although we are typically not fans of “filters” or “styles” that are globally applied to a photo, the ones built into AirMagic are actually worth trying. Some of them enhance aerial photos very naturally and in a pleasing way (rather than the heavy-handed filters that most editing suites include).
#8. Weaknesses of AirMagic
Some of the weaknesses we found with AirMagic are:
- No export-with-watermark option that we could find. Probably not a huge deal for most photographers, but if you want to use this software for commercial purposes (sharing watermarked galleries with clients etc) it would be a nice feature to see in future releases.
- No horizon tilt adjustment: Unless it is buried somewhere, we are not seeing an option to adjust the horizon inside the software. This would be a great feature to see implemented in future releases of AirMagic (although it is notoriously hard to auto-level horizons consistently inside of Lightroom and Photoshop as well).
In Conclusion
Again, this software does not give you anywhere near the granularity of adjustments that pro-level tools such as Adobe Lightroom and Photoshop do, but as a quick-edit software that does a solid job this tool will be tough to beat!
We definitely recommend at least giving it a try (It is free to demo at Skylum.com/airmagic/free or use the promotional code DRONETRADER for 20% off your purchase!)
Let us know what you think about the software or if you have any questions we may be able to answer!

